RobotAspi
From Eric
(Difference between revisions)
m |
m |
||
| (One intermediate revision not shown) | |||
| Line 1: | Line 1: | ||
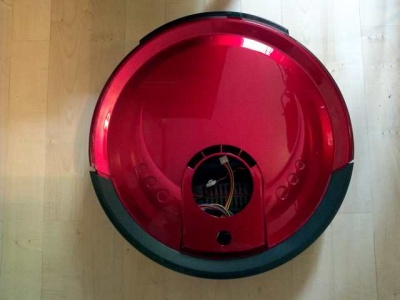
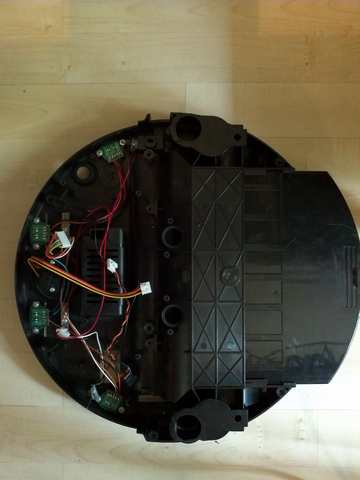
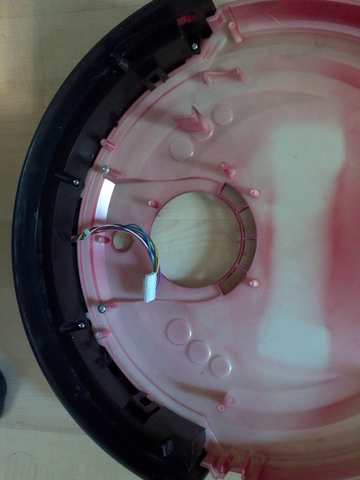
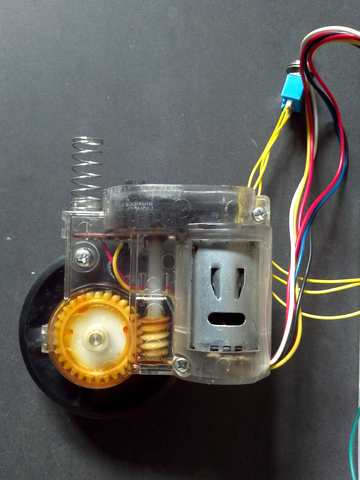
A few pictures of the recycling of my vacuum cleaner robot: | A few pictures of the recycling of my vacuum cleaner robot: | ||
| - | + | = The initial robot = | |
[[File:aspirobot_1.jpg|400px|thumb|none]] | [[File:aspirobot_1.jpg|400px|thumb|none]] | ||
[[File:aspirobot_2.jpg|400px|thumb|none]] | [[File:aspirobot_2.jpg|400px|thumb|none]] | ||
[[File:aspirobot_3.jpg|400px|thumb|none]] | [[File:aspirobot_3.jpg|400px|thumb|none]] | ||
[[File:aspirobot_4.jpg|400px|thumb|none]] | [[File:aspirobot_4.jpg|400px|thumb|none]] | ||
| + | = The "power" board = | ||
| + | This board uses an Atmega microontroller. It is in charge of all I/Os (including motor control). The board is fitted with two full H-bridges (one per motor). It communicates with the man board (a raspberry Pi 2) via a CAN network. | ||
[[File:aspirobot_5.jpg|400px|thumb|none]] | [[File:aspirobot_5.jpg|400px|thumb|none]] | ||
[[File:aspirobot_6.jpg|400px|thumb|none]] | [[File:aspirobot_6.jpg|400px|thumb|none]] | ||
[[File:aspirobot_7.jpg|400px|thumb|none]] | [[File:aspirobot_7.jpg|400px|thumb|none]] | ||
| + | = The completed version = | ||
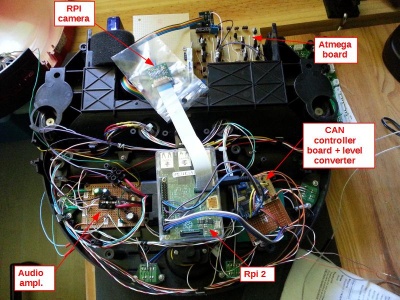
| + | As of August 13rd, the robot is now autonomous. ENergy is provided by two LiPos (one for the motors, one for the two computers). Power supplies are regulated to 5V using buck converters bought on eBay. | ||
[[File:aspirobot_completed1.jpg|400px|thumb|none]] | [[File:aspirobot_completed1.jpg|400px|thumb|none]] | ||
[[File:aspirobot_completed2.jpg|400px|thumb|none]] | [[File:aspirobot_completed2.jpg|400px|thumb|none]] | ||
[[File:aspirobot_completed3.jpg|400px|thumb|none]] | [[File:aspirobot_completed3.jpg|400px|thumb|none]] | ||
| - | = A small TDA 2030 audio amplifier | + | = A small TDA 2030 audio amplifier = |
Note that I have slightly modified the schema given in the datasheet: I have added a 220nf capacitor and a 150K ohm (in series) on the feedback (pin 4 to pin 2). | Note that I have slightly modified the schema given in the datasheet: I have added a 220nf capacitor and a 150K ohm (in series) on the feedback (pin 4 to pin 2). | ||
[[File:aspirobot_audio_amp1.jpg|400px|thumb|none]] | [[File:aspirobot_audio_amp1.jpg|400px|thumb|none]] | ||
[[File:aspirobot_audio_amp2.jpg|400px|thumb|none]] | [[File:aspirobot_audio_amp2.jpg|400px|thumb|none]] | ||
Latest revision as of 20:13, 13 August 2016
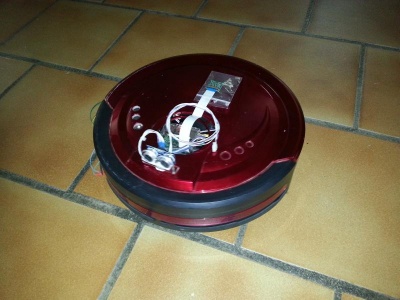
A few pictures of the recycling of my vacuum cleaner robot:
Contents |
The initial robot
The "power" board
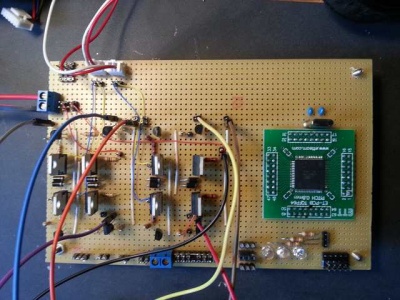
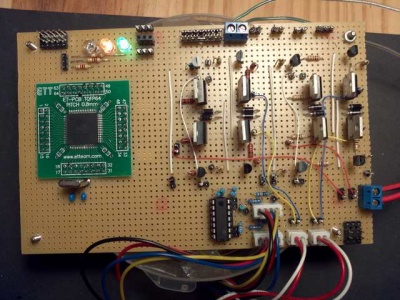
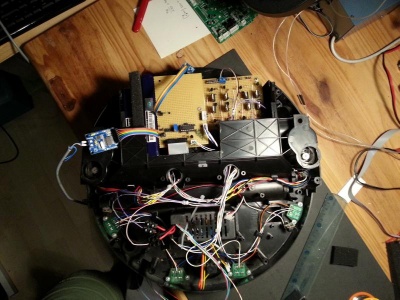
This board uses an Atmega microontroller. It is in charge of all I/Os (including motor control). The board is fitted with two full H-bridges (one per motor). It communicates with the man board (a raspberry Pi 2) via a CAN network.
The completed version
As of August 13rd, the robot is now autonomous. ENergy is provided by two LiPos (one for the motors, one for the two computers). Power supplies are regulated to 5V using buck converters bought on eBay.
A small TDA 2030 audio amplifier
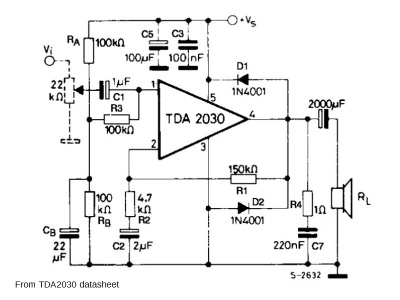
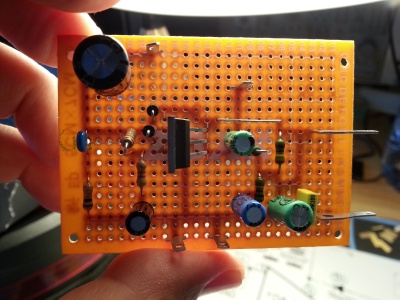
Note that I have slightly modified the schema given in the datasheet: I have added a 220nf capacitor and a 150K ohm (in series) on the feedback (pin 4 to pin 2).
