Galvo
From Eric
m |
m |
||
| Line 2: | Line 2: | ||
== Objectives == | == Objectives == | ||
| - | + | As a followup to my previous efforts to control a CRT, I have resurrected a setup that I did quite a long time ago to control a laser beam. | |
| - | + | I have done several attempts, using a [http://ejenn.free.fr/index.php?title=Galvanom%C3%A8tre_pour_affichage_laser handmade galvo] and a moving mirror. | |
Here are picture of the two setups: | Here are picture of the two setups: | ||
| Line 12: | Line 12: | ||
There are also two short videos [https://www.youtube.com/watch?v=E4JKMRbQh9g here] and [https://www.youtube.com/watch?v=yHWOThJy13o there] . | There are also two short videos [https://www.youtube.com/watch?v=E4JKMRbQh9g here] and [https://www.youtube.com/watch?v=yHWOThJy13o there] . | ||
| + | Needless to say, these attemprs were unsuccessful. So I ended up buying a readymade mage galvo from China (simlilar to [https://www.ebay.com/itm/20KPPS-30KPPS-Galvo-Scanner-ILDA-Closed-Loop-For-Light-Show-Stage-Lighting-Laser/123898561176?epid=9031429821&hash=item1cd8ee0298:g:YnYAAOSwtbhcreDI this one]). | ||
| + | The galvo comes with a +15/-15v power suply and two drivers (one for each mirror). | ||
| + | |||
| + | The only things that remain to be done are | ||
| + | * to generate the ILDA signals to drive the mirrors (via the drivers) from two 0-5v signals generated by an Arduino micro and a couple of DACs (this is explained below). | ||
| + | * to write the piece of software to the generate patterns to display. | ||
| + | |||
| Line 26: | Line 33: | ||
== Breadboard == | == Breadboard == | ||
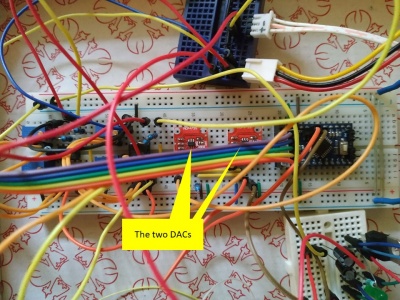
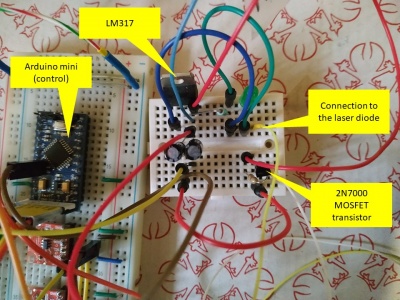
| + | The initial setup has been done on a breadbord. As usual, this is a real mess. | ||
[[File:galvo2021_breadboard-1.jpg|400px|thumb|none]] | [[File:galvo2021_breadboard-1.jpg|400px|thumb|none]] | ||
Revision as of 14:42, 7 March 2021
Contents |
Galvo
Objectives
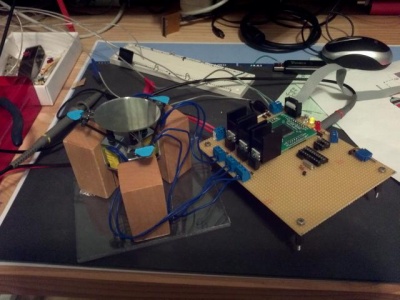
As a followup to my previous efforts to control a CRT, I have resurrected a setup that I did quite a long time ago to control a laser beam. I have done several attempts, using a handmade galvo and a moving mirror.
Here are picture of the two setups:
There are also two short videos here and there .
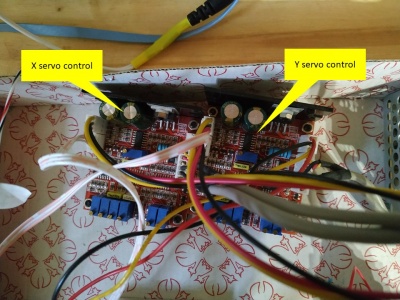
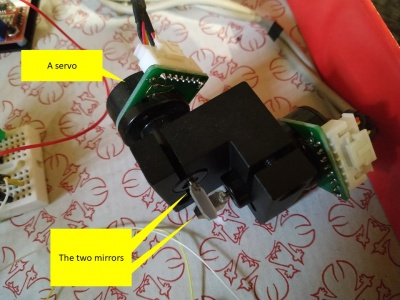
Needless to say, these attemprs were unsuccessful. So I ended up buying a readymade mage galvo from China (simlilar to this one). The galvo comes with a +15/-15v power suply and two drivers (one for each mirror).
The only things that remain to be done are
- to generate the ILDA signals to drive the mirrors (via the drivers) from two 0-5v signals generated by an Arduino micro and a couple of DACs (this is explained below).
- to write the piece of software to the generate patterns to display.
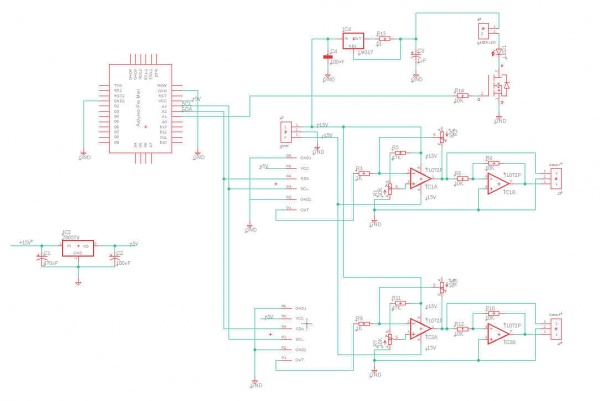
Schematics
The schematics is basically the one proposed at [1].
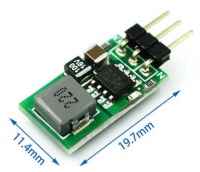
Please note that the 5V used for the microcontroller / DACs is obtained from the 15V power supply. I am not sure that a genuine 7805 will appreciate the 10V shift... So I'll use some of the nice 3-pin step-down replacements such as:
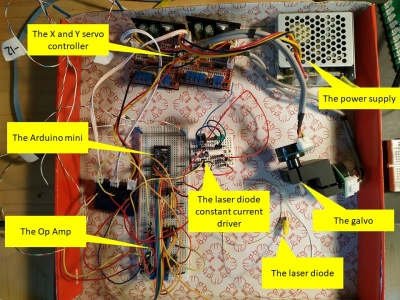
Breadboard
The initial setup has been done on a breadbord. As usual, this is a real mess.
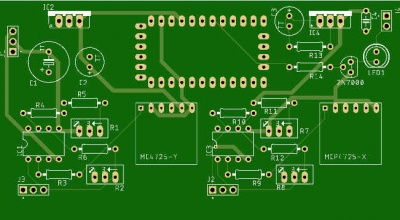
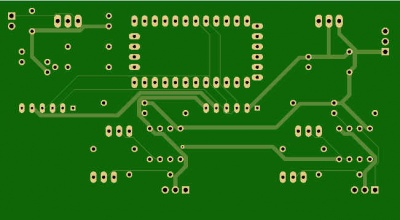
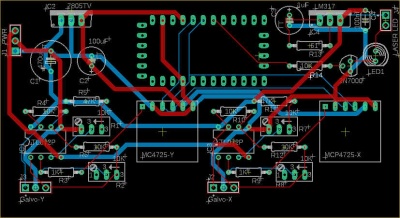
PCB
