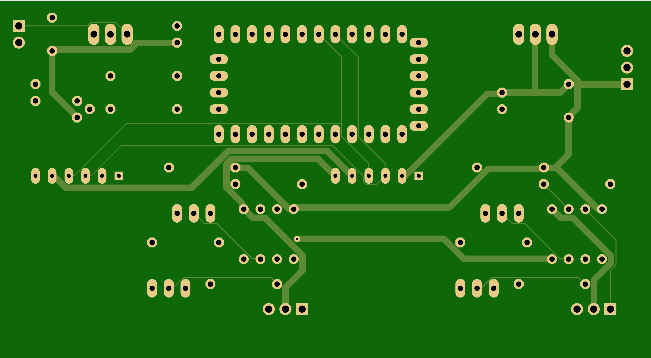
Galvo
From Eric
(Difference between revisions)
m |
m |
||
| Line 4: | Line 4: | ||
== Schematics == | == Schematics == | ||
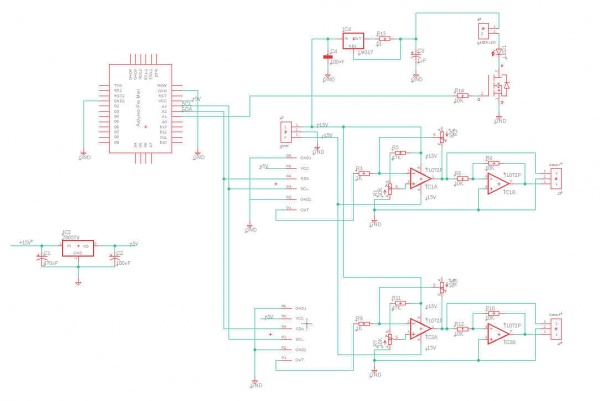
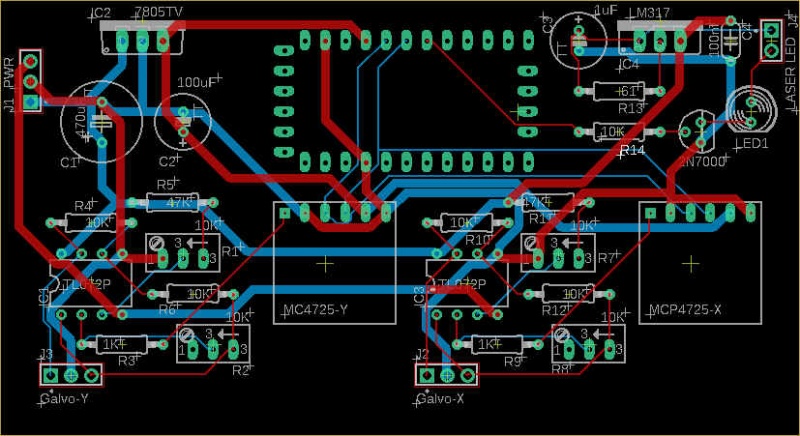
| - | + | The schematics is basically the one proposed at [https://www.instructables.com/Arduino-Laser-Show-With-Real-Galvos/]. | |
| - | + | ||
[[File:galvo2021_schematics.jpg|600px|thumb|none]] | [[File:galvo2021_schematics.jpg|600px|thumb|none]] | ||
| + | Please note that the 5V used for the microcontroller / DACs is obtained from the 15V power supply. | ||
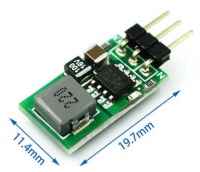
I am not sure that a genuine 7805 will appreciate the 10V shift... So I'll use some of the nice 3-pin step-down replacements such as: | I am not sure that a genuine 7805 will appreciate the 10V shift... So I'll use some of the nice 3-pin step-down replacements such as: | ||
[[File:galvo2021_5v_step_down.jpg|200px|thumb|none]] | [[File:galvo2021_5v_step_down.jpg|200px|thumb|none]] | ||
Revision as of 16:20, 6 March 2021
Contents |
Galvo
Schematics
The schematics is basically the one proposed at [1].
Please note that the 5V used for the microcontroller / DACs is obtained from the 15V power supply. I am not sure that a genuine 7805 will appreciate the 10V shift... So I'll use some of the nice 3-pin step-down replacements such as:
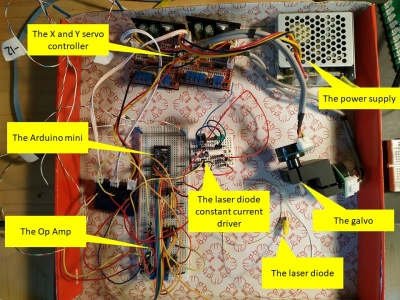
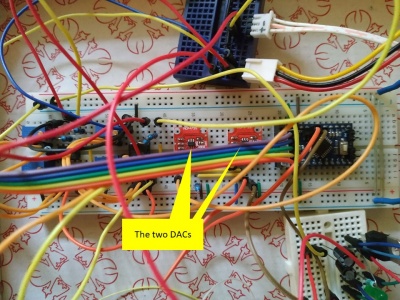
Breadboard
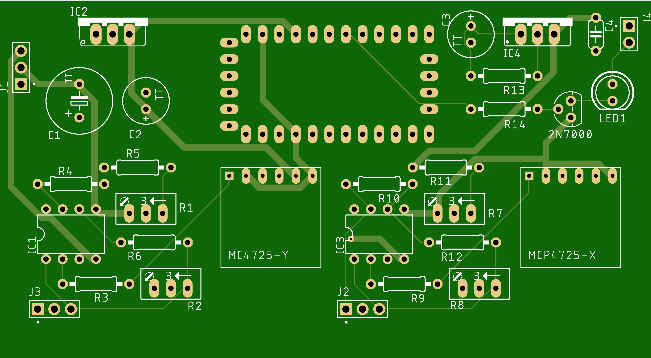
PCB
